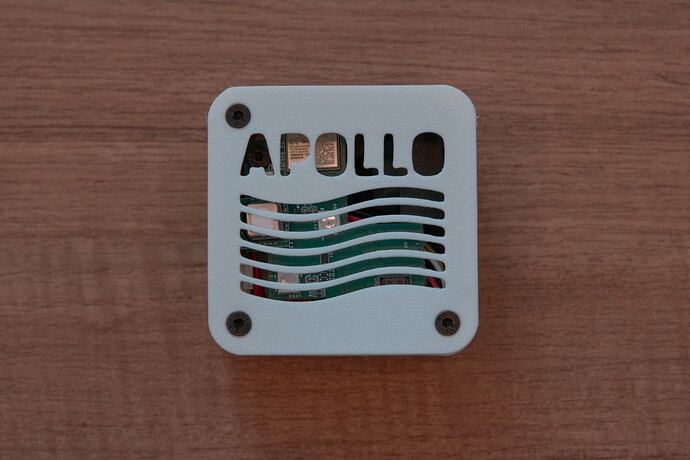
The Apollo AIR-1 from Apollo Automation has been one of the most requested monitor reviews over the past few months. If you haven’t heard about this monitor yet, don’t worry! It’s quite a niche product, but it’s also very interesting.
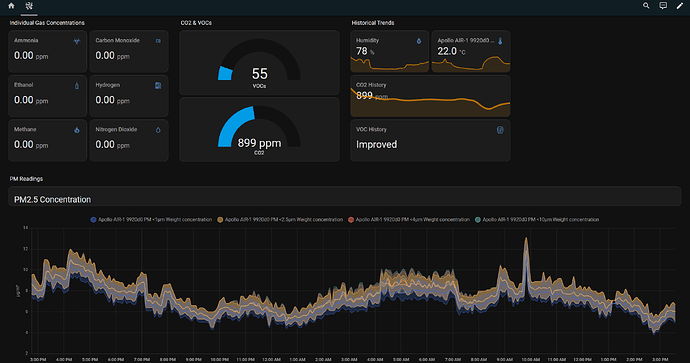
Apollo Automation is primarily a smart home company that makes sensors for Home Assistant. This means that, while they may not have a lot of experience with air quality monitors, they have a lot of experience with smart home integrations through Home Assistant, making this one of the most widely used ‘smart’ air quality monitors. It was even recently brought up in this conversation:
I only received the monitor today and haven’t yet had a chance to run it as I am still waiting on a Raspberry Pi to run Home Assistant. However, while my full review is still a few weeks away, I wanted to start sharing my thoughts on the device as I form them. This way, you can keep up with my thoughts throughout the review process. Also, let me know if you have any questions you want answered along the way.
As a disclaimer, I now work with AirGradient, which could be seen as the most direct ‘competition’ to the AIR-1. However, I also want to note that both companies have a good relationship (see here). I only joined AirGradient because I am allowed to be completely transparent, and it’s a company that values transparency and honesty above all else.
With that out of the way, I must say that I’ve been extremely excited to try out the Apollo device, not just because I’m curious about its performance but also because I want to try out Home Assistant (which, until now, I haven’t had a reason to). While the Home Assistant part is still a few days away as I await the Raspberry Pi delivery, I have unboxed the device and have a few thoughts.
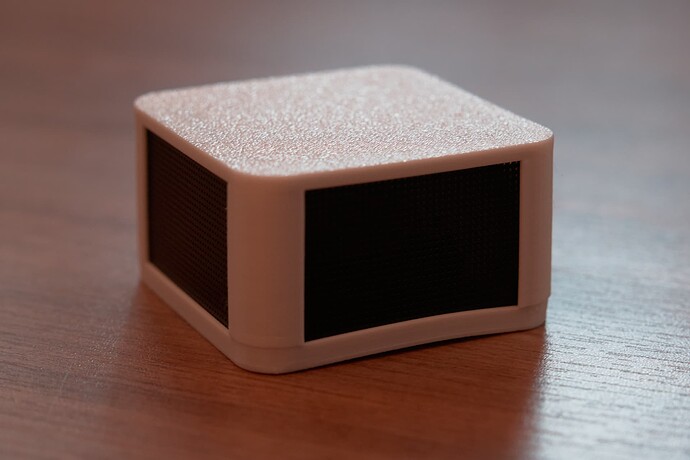
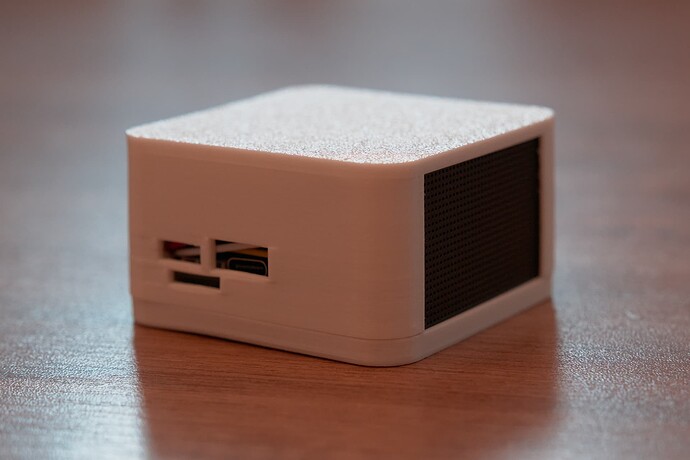
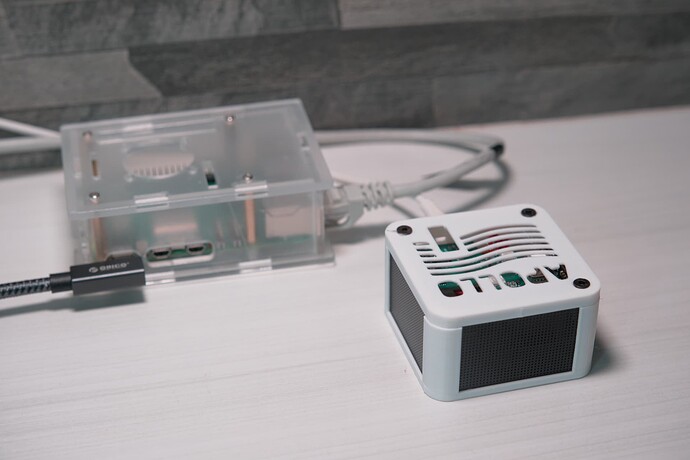
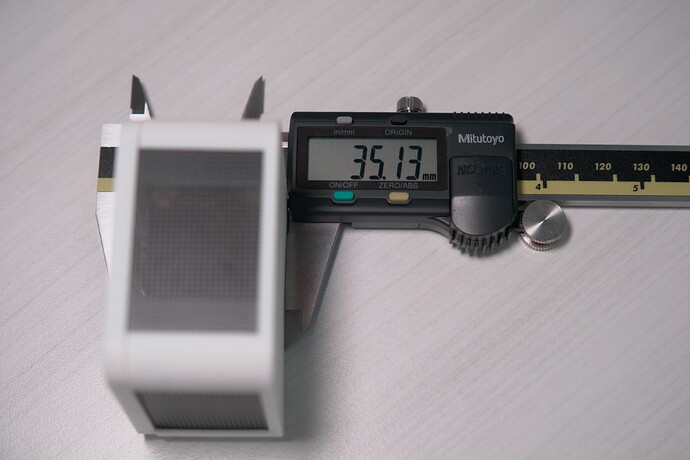
My first impression of the device was amazement at how small it is. So far, the Amazon Smart Air Quality Monitor has been the smallest air quality monitor I’ve reviewed. However, while I don’t have that monitor on me right now, I believe this may be even smaller! It’s certainly impressive.
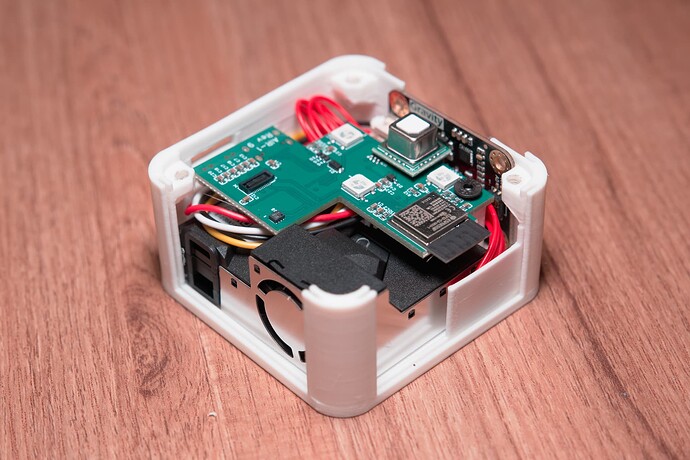
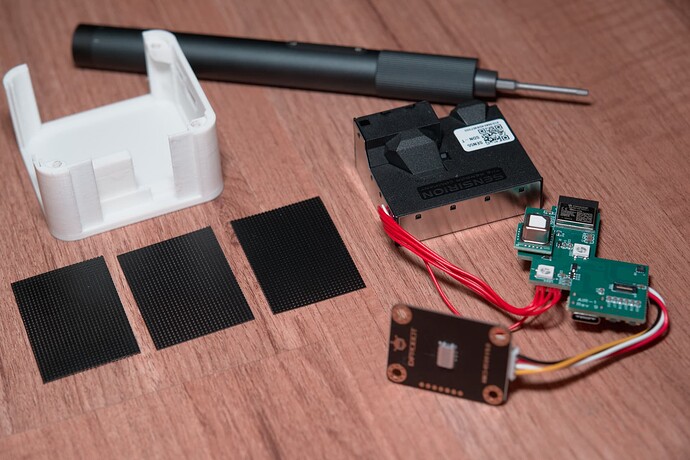
However, considering the sensor used in this monitor is almost the same (the SEN54 vs the SEN44), I shouldn’t be surprised as these all-in-one sensors combine great performance in a small package. Combined with the optional SCD40 CO2 sensor (which is tiny! You can see images in this post if you’re curious) and you have the makings of an ultra-compact air quality monitor.
Since the device’s housing is 3D-printed plastic, it’s also quite light, meaning that it is portable (not that it should be used this way, as it requires both a WiFi connection and power) if needed. Unfortunately, since it is 3D-printed, there can be some build issues, and I found the bottom plate of my monitor pretty bent when I unboxed the device. I don’t blame Apollo for this, as it was likely caused by rough shipping (and it did have to fly a long way to get to me!), but it was disappointing. Luckily, I ordered the GPIO header, which came with another base plate anyway! Once changed, the device looked much better and could sit flat again.
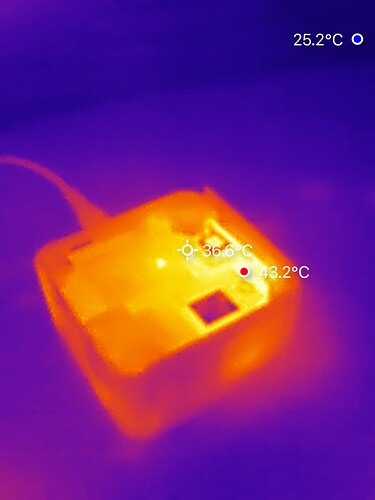
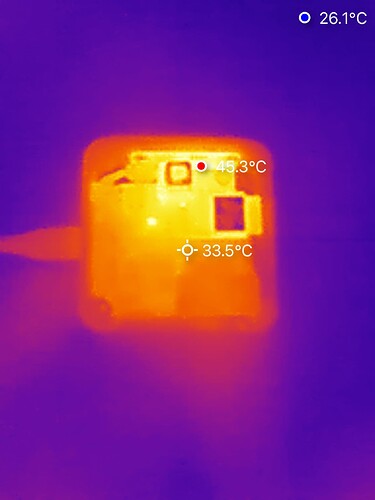
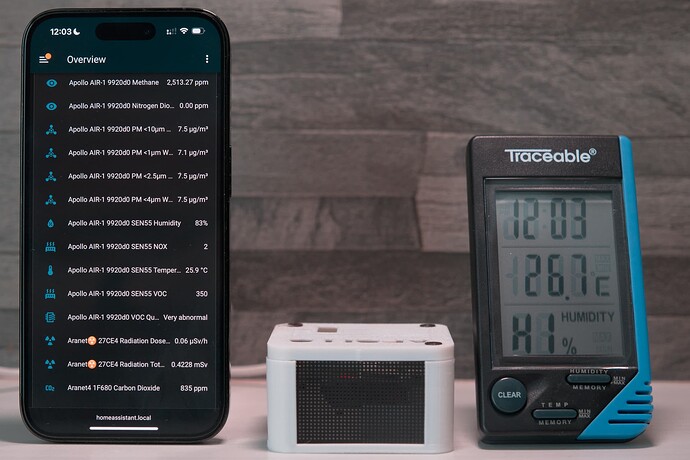
While I was at it, I thought I would dismantle the monitor to have a look at the internals. As you might’ve already guessed, they’re packed very tightly (especially since I added both the optional CO2 sensor and gas sensor), and I was again amazed at how small this monitor is. While it might potentially cause some heat issues, that is something I will look at at a later stage when I compare it to my Traceable monitor.
I’m very excited to get this monitor up and running and can’t wait to test it some more! The price (starting at around $90 and going up to $150 once the extra sensors are added) is affordable for air quality monitors and could provide a very compelling choice - at least for anyone with Home Assistant.
If you have any questions, please let me know. Otherwise, I will be back to share more thoughts as I test the monitor more!
